

Mercedes metallic paint blistering, caused by various factors, can devalue a vehicle. Reputable body shops offer specialized Mercedes collision repair, focusing on diagnostic precision and high-quality materials for restoration. This guide provides step-by-step instructions for effective Mercedes metallic paint repair, including inspection, surface preparation, patching, priming, painting, and final protection, ensuring a restored finish that matches the original luxury aesthetic.
Mercedes metallic paint repair is a common concern among car owners, particularly with aging vehicles. This article delves into the intricate world of Mercedes metallic paint blistering, offering a comprehensive guide for restoration. We’ll first explore the underlying causes of this issue, from environmental factors to manufacturing defects. Then, we provide a detailed step-by-step repair process, ensuring optimal results and restoring your vehicle’s sleek, glossy finish.
- Understanding Mercedes Metallic Paint Blistering
- Diagnosing the Root Cause of the Issue
- Step-by-Step Repair Guide for Optimal Results
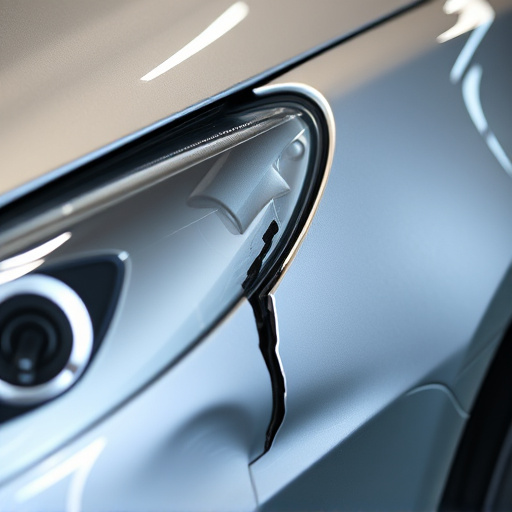
Understanding Mercedes Metallic Paint Blistering
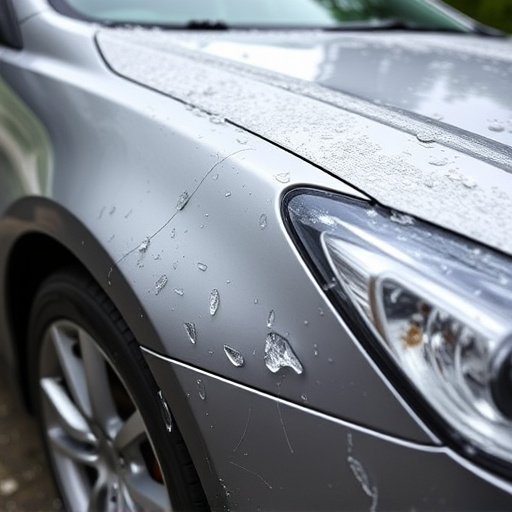
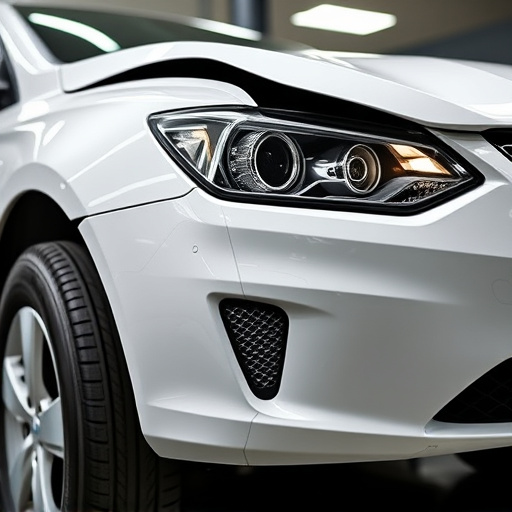
Mercedes metallic paint blistering is a common issue that can significantly detract from your vehicle’s appearance and value. This problem often arises due to a combination of factors, including quality of paint, manufacturing defects, environmental conditions, and improper application during original painting or subsequent repairs. In the case of Mercedes vehicles, known for their sleek and luxurious metallic finishes, understanding this issue is crucial for maintaining the car’s aesthetic integrity.
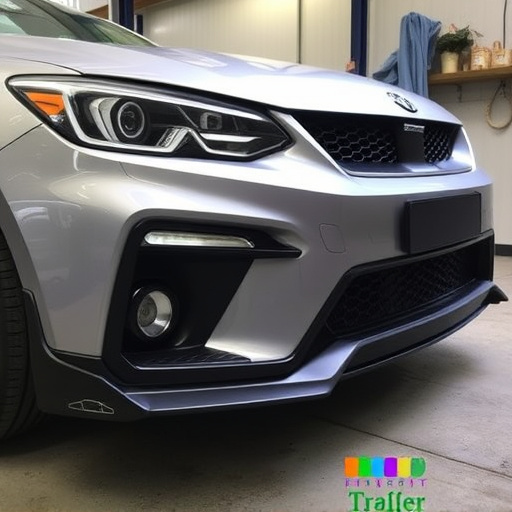
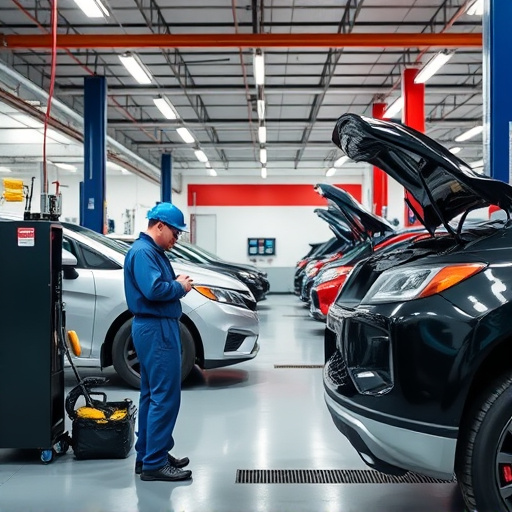
At a reputable vehicle body shop specializing in mercedes benz collision repair, technicians are equipped to diagnose and address paint blistering effectively. They employ advanced techniques and high-quality materials for Mercedes metallic paint repair, ensuring that the restored surface not only matches the original finish but also enhances the overall look of your vehicle. Compared to other bumper repair methods, focusing on metal paint issues can be a game-changer in preserving your Mercedes’ distinctive and vibrant appearance.
Diagnosing the Root Cause of the Issue
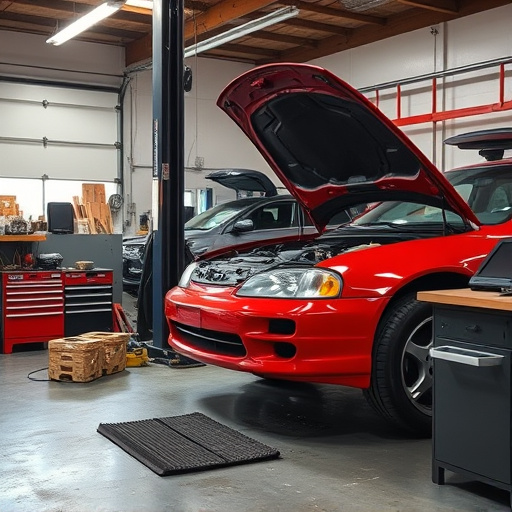
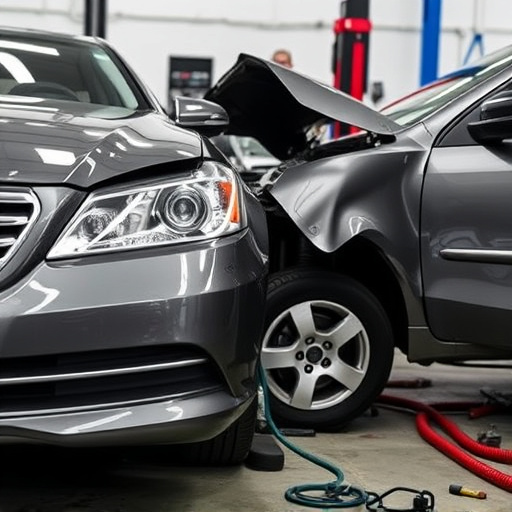
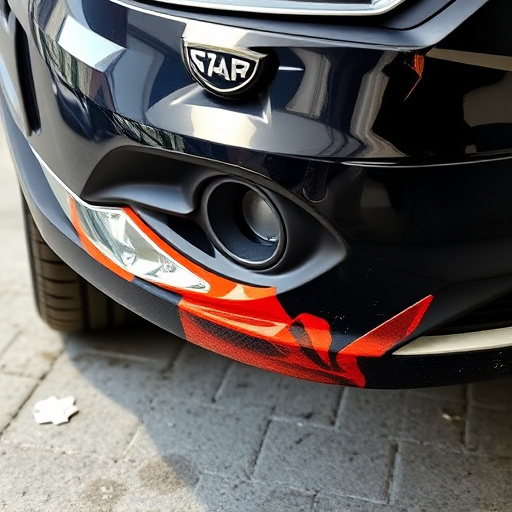
Diagnosing the root cause of paint blistering issues in Mercedes metallic paint is a crucial step in effective Mercedes metallic paint repair. This problem often arises from a variety of factors, including poor initial application, exposure to harsh environmental conditions, or underlying car bodywork damage. To accurately identify the source, inspect the affected area for signs of moisture buildup, surface imperfections, or previous repairs that may have compromised the paint’s integrity.
Car bodywork services tailored for luxury vehicles like Mercedes require a meticulous approach. Skilled technicians use specialized tools and knowledge to assess whether the blistering is isolated or part of a broader car bodywork issue. Once the root cause is pinpointed, appropriate measures can be taken—whether it’s reapplication of paint, addressing moisture intrusion in the car bodywork, or conducting more comprehensive luxury vehicle repair.
Step-by-Step Repair Guide for Optimal Results
Step-by-Step Repair Guide for Optimal Mercedes Metallic Paint Results
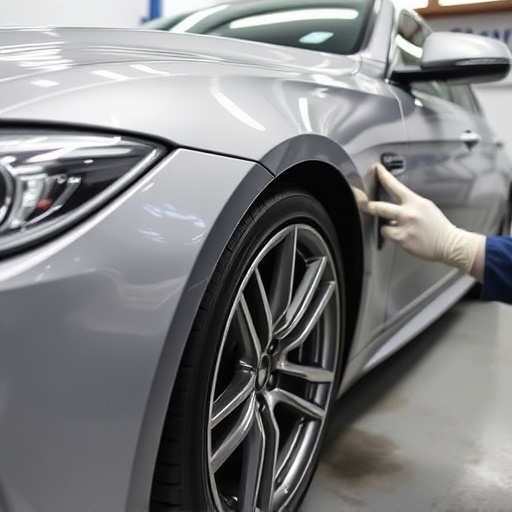
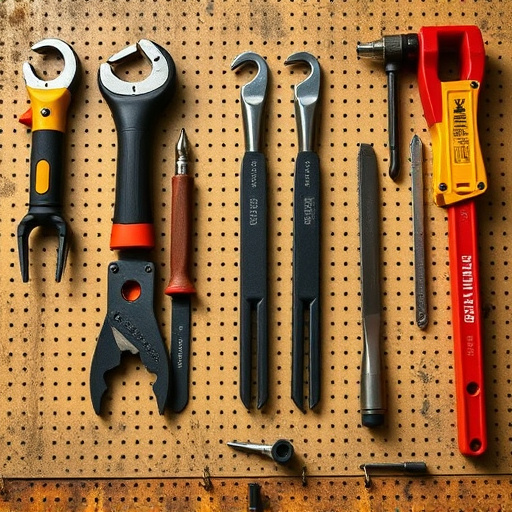
1. Inspect and Prepare: Begin by thoroughly inspecting the damaged area to determine the extent of paint blistering. Remove any loose paint or debris using a fine-grit sandpaper. Ensure the surface is clean and free from contaminants. This step is crucial for achieving a seamless finish during the repair process.
2. Surface Etching: Apply a thin layer of automotive-grade etching primer to the affected zone. This process helps create a rough texture, allowing the new paint to bond better with the existing metal. Let it dry completely according to the manufacturer’s instructions. Next, use 500-grit sandpaper to gently sand the area, creating a subtle surface profile that will enhance adhesion.
3. Patching and Filling: If there are any holes or deep cracks, fill them with a high-quality auto body filler. Smoothen the surface after application using a spatula or a fine sandpaper. Allow it to cure fully. Once cured, lightly sand again with 600-grit paper to ensure an even base for painting.
4. Priming: Apply a coat of automotive primer designed specifically for metallic finishes. This step is vital as it prepares the surface for paint, ensuring a consistent and long-lasting result. Allow the primer to dry thoroughly.
5. Painting: Using a high-quality Mercedes metallic paint, apply multiple thin coats, allowing each layer to dry between applications. Start with a base coat, followed by the desired metallic shade. For optimal results, use a spray gun or an airbrush for even application. The final coat should be a clear topcoat to protect the vibrant metallic finish.
6. Final Touches: After the paint has fully cured, inspect your work. Lightly sand with fine-grit paper to remove any imperfections or minor scratches. Wipe down the area with a clean cloth and apply a car wax or sealant for protection and to enhance the gloss of the repair.
Mercedes metallic paint repair can transform a vehicle’s appearance and protect its finish. By understanding the root causes of blistering, such as improper application or environmental factors, you can effectively diagnose and address the issue using simple DIY methods or professional techniques. Following the step-by-step guide ensures optimal results, restoring your Mercedes to its gleaming best. Remember that prompt action on paint blistering is key to preserving both aesthetics and vehicle value.